


How to Clean an Electric Shaver (with Pictures)
November 14, 2024 • 8 min read
Our electric hair shavers need some TLC. Without it, you'll end up with a gunky, smelly razor that pulls and tugs on your hair.
Cleaning your razor keeps it in top condition and ensures a smooth and comfortable shave. Read along as we teach you how to clean like a pro.
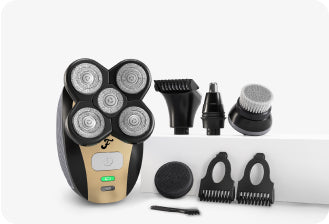
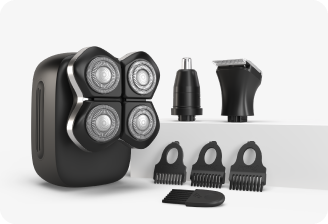
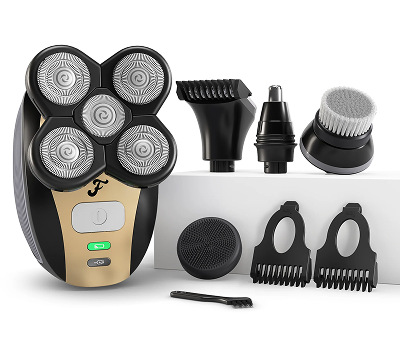
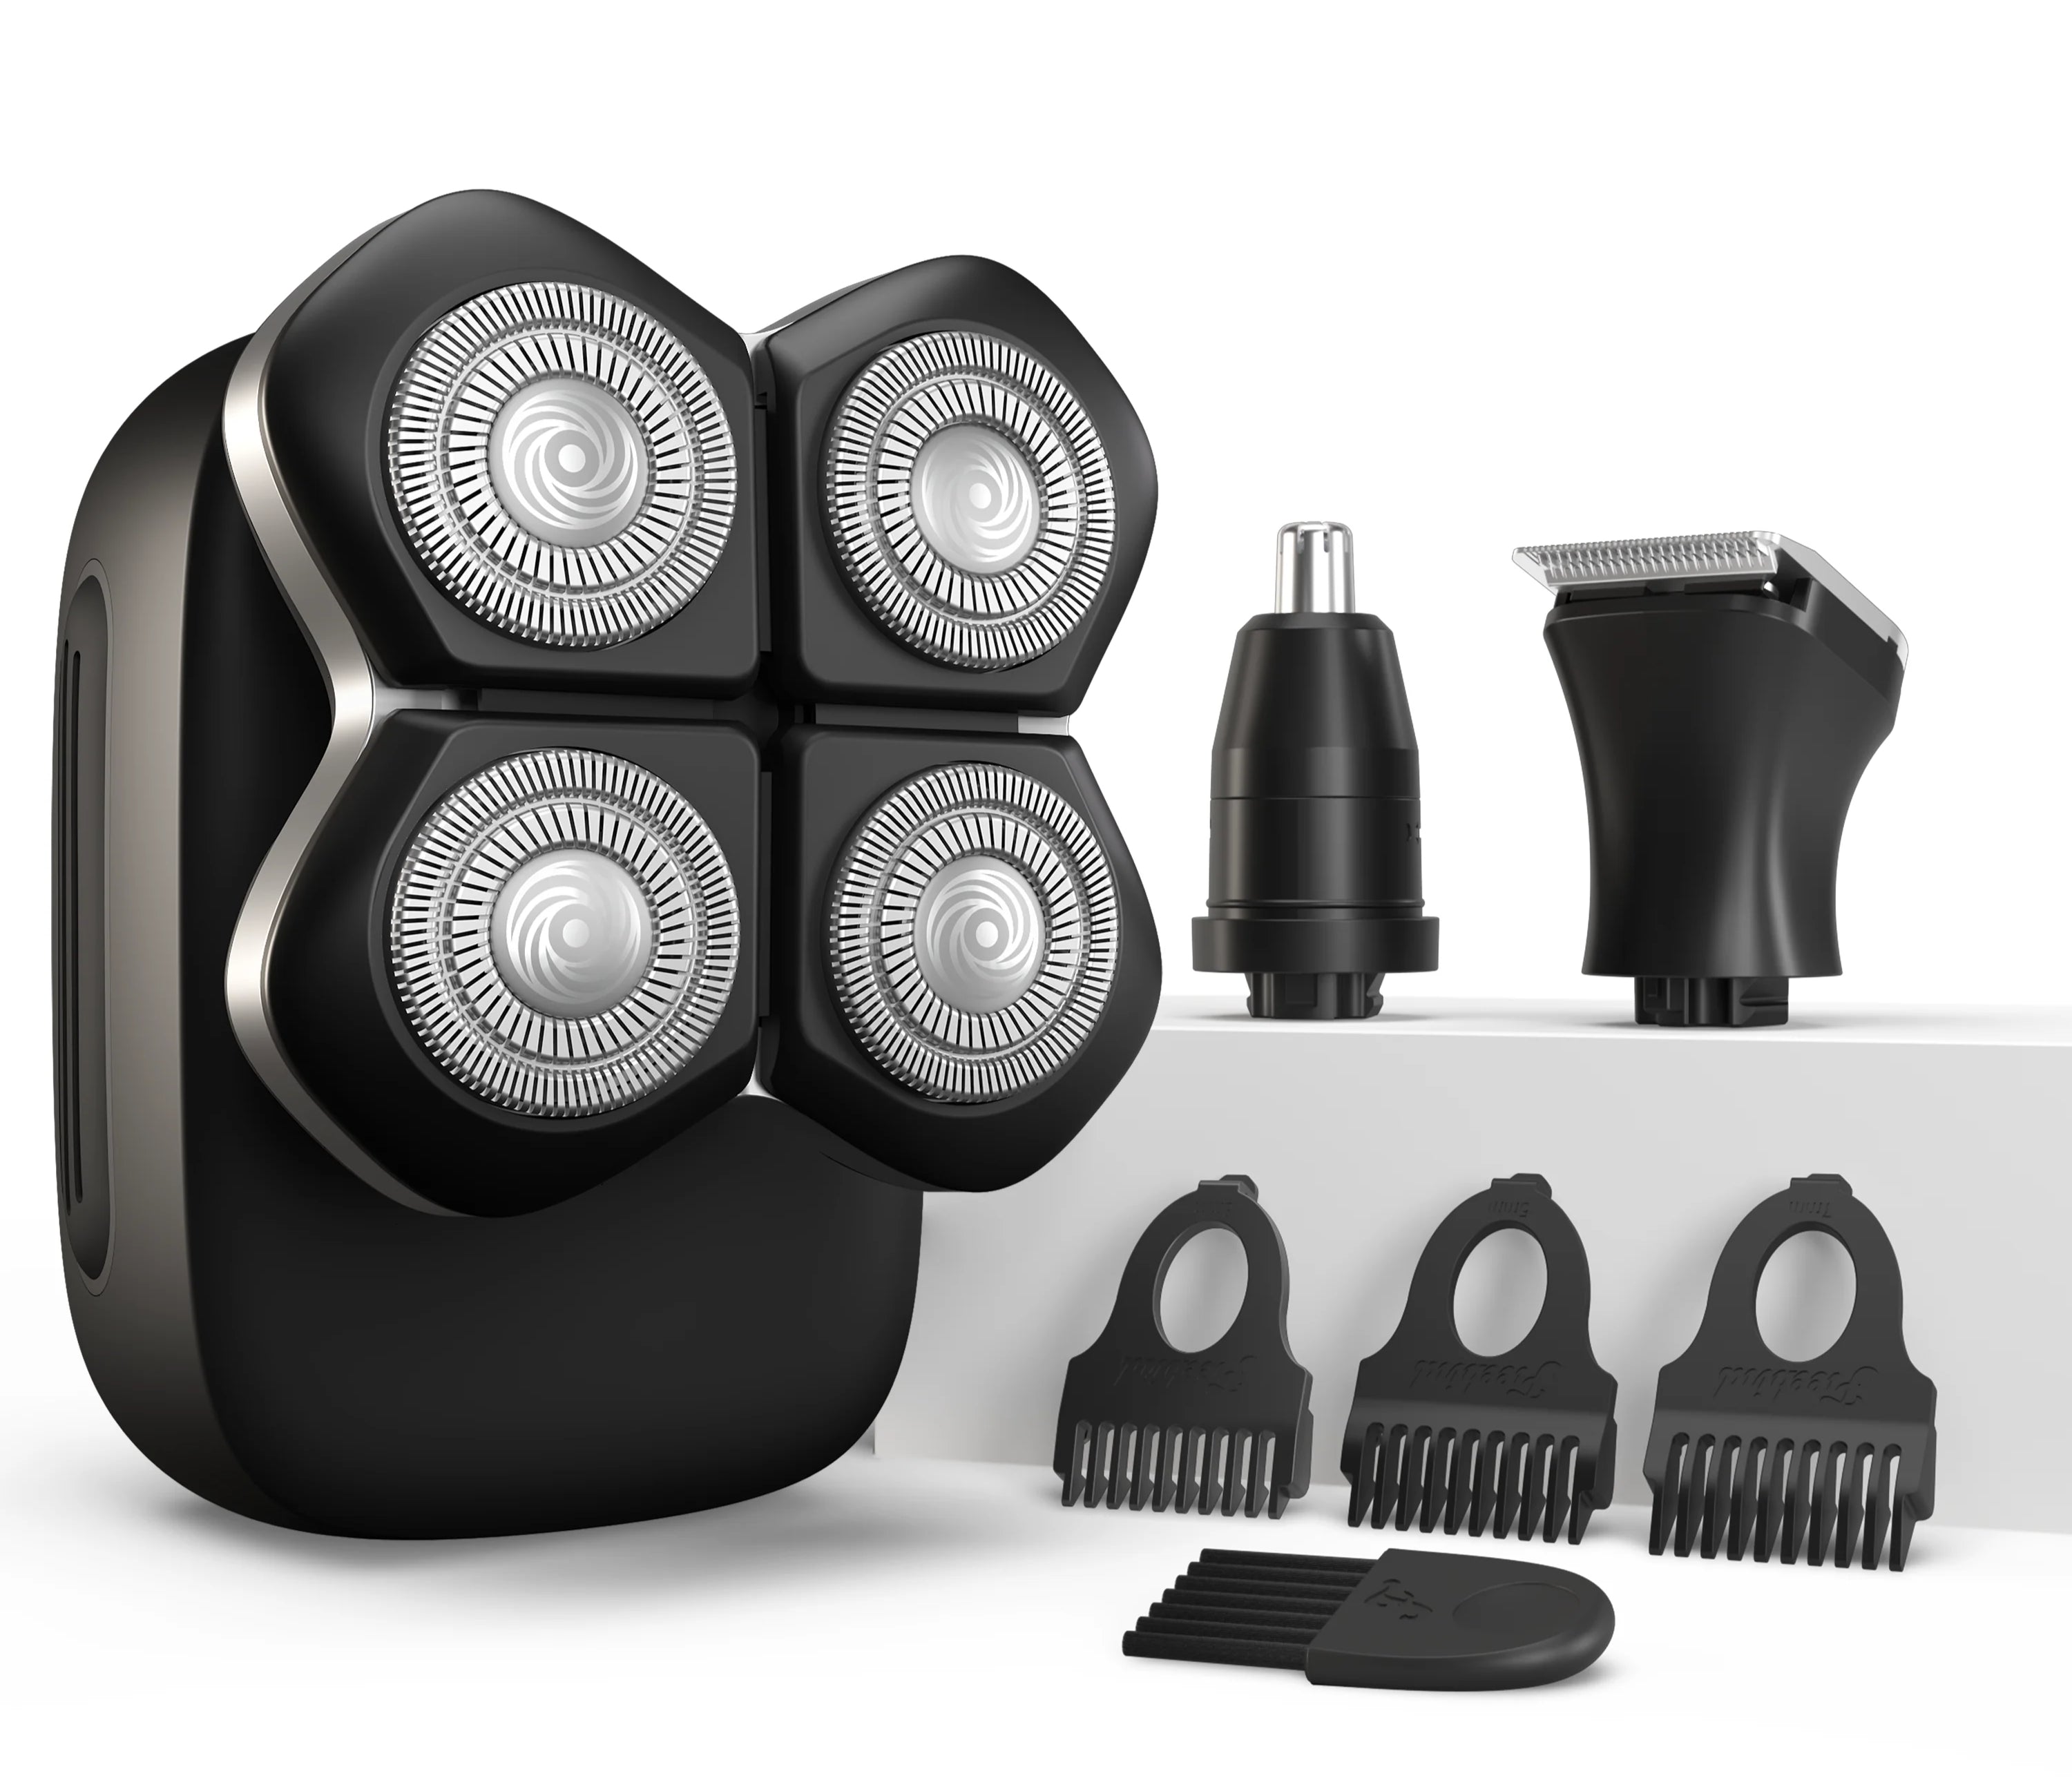
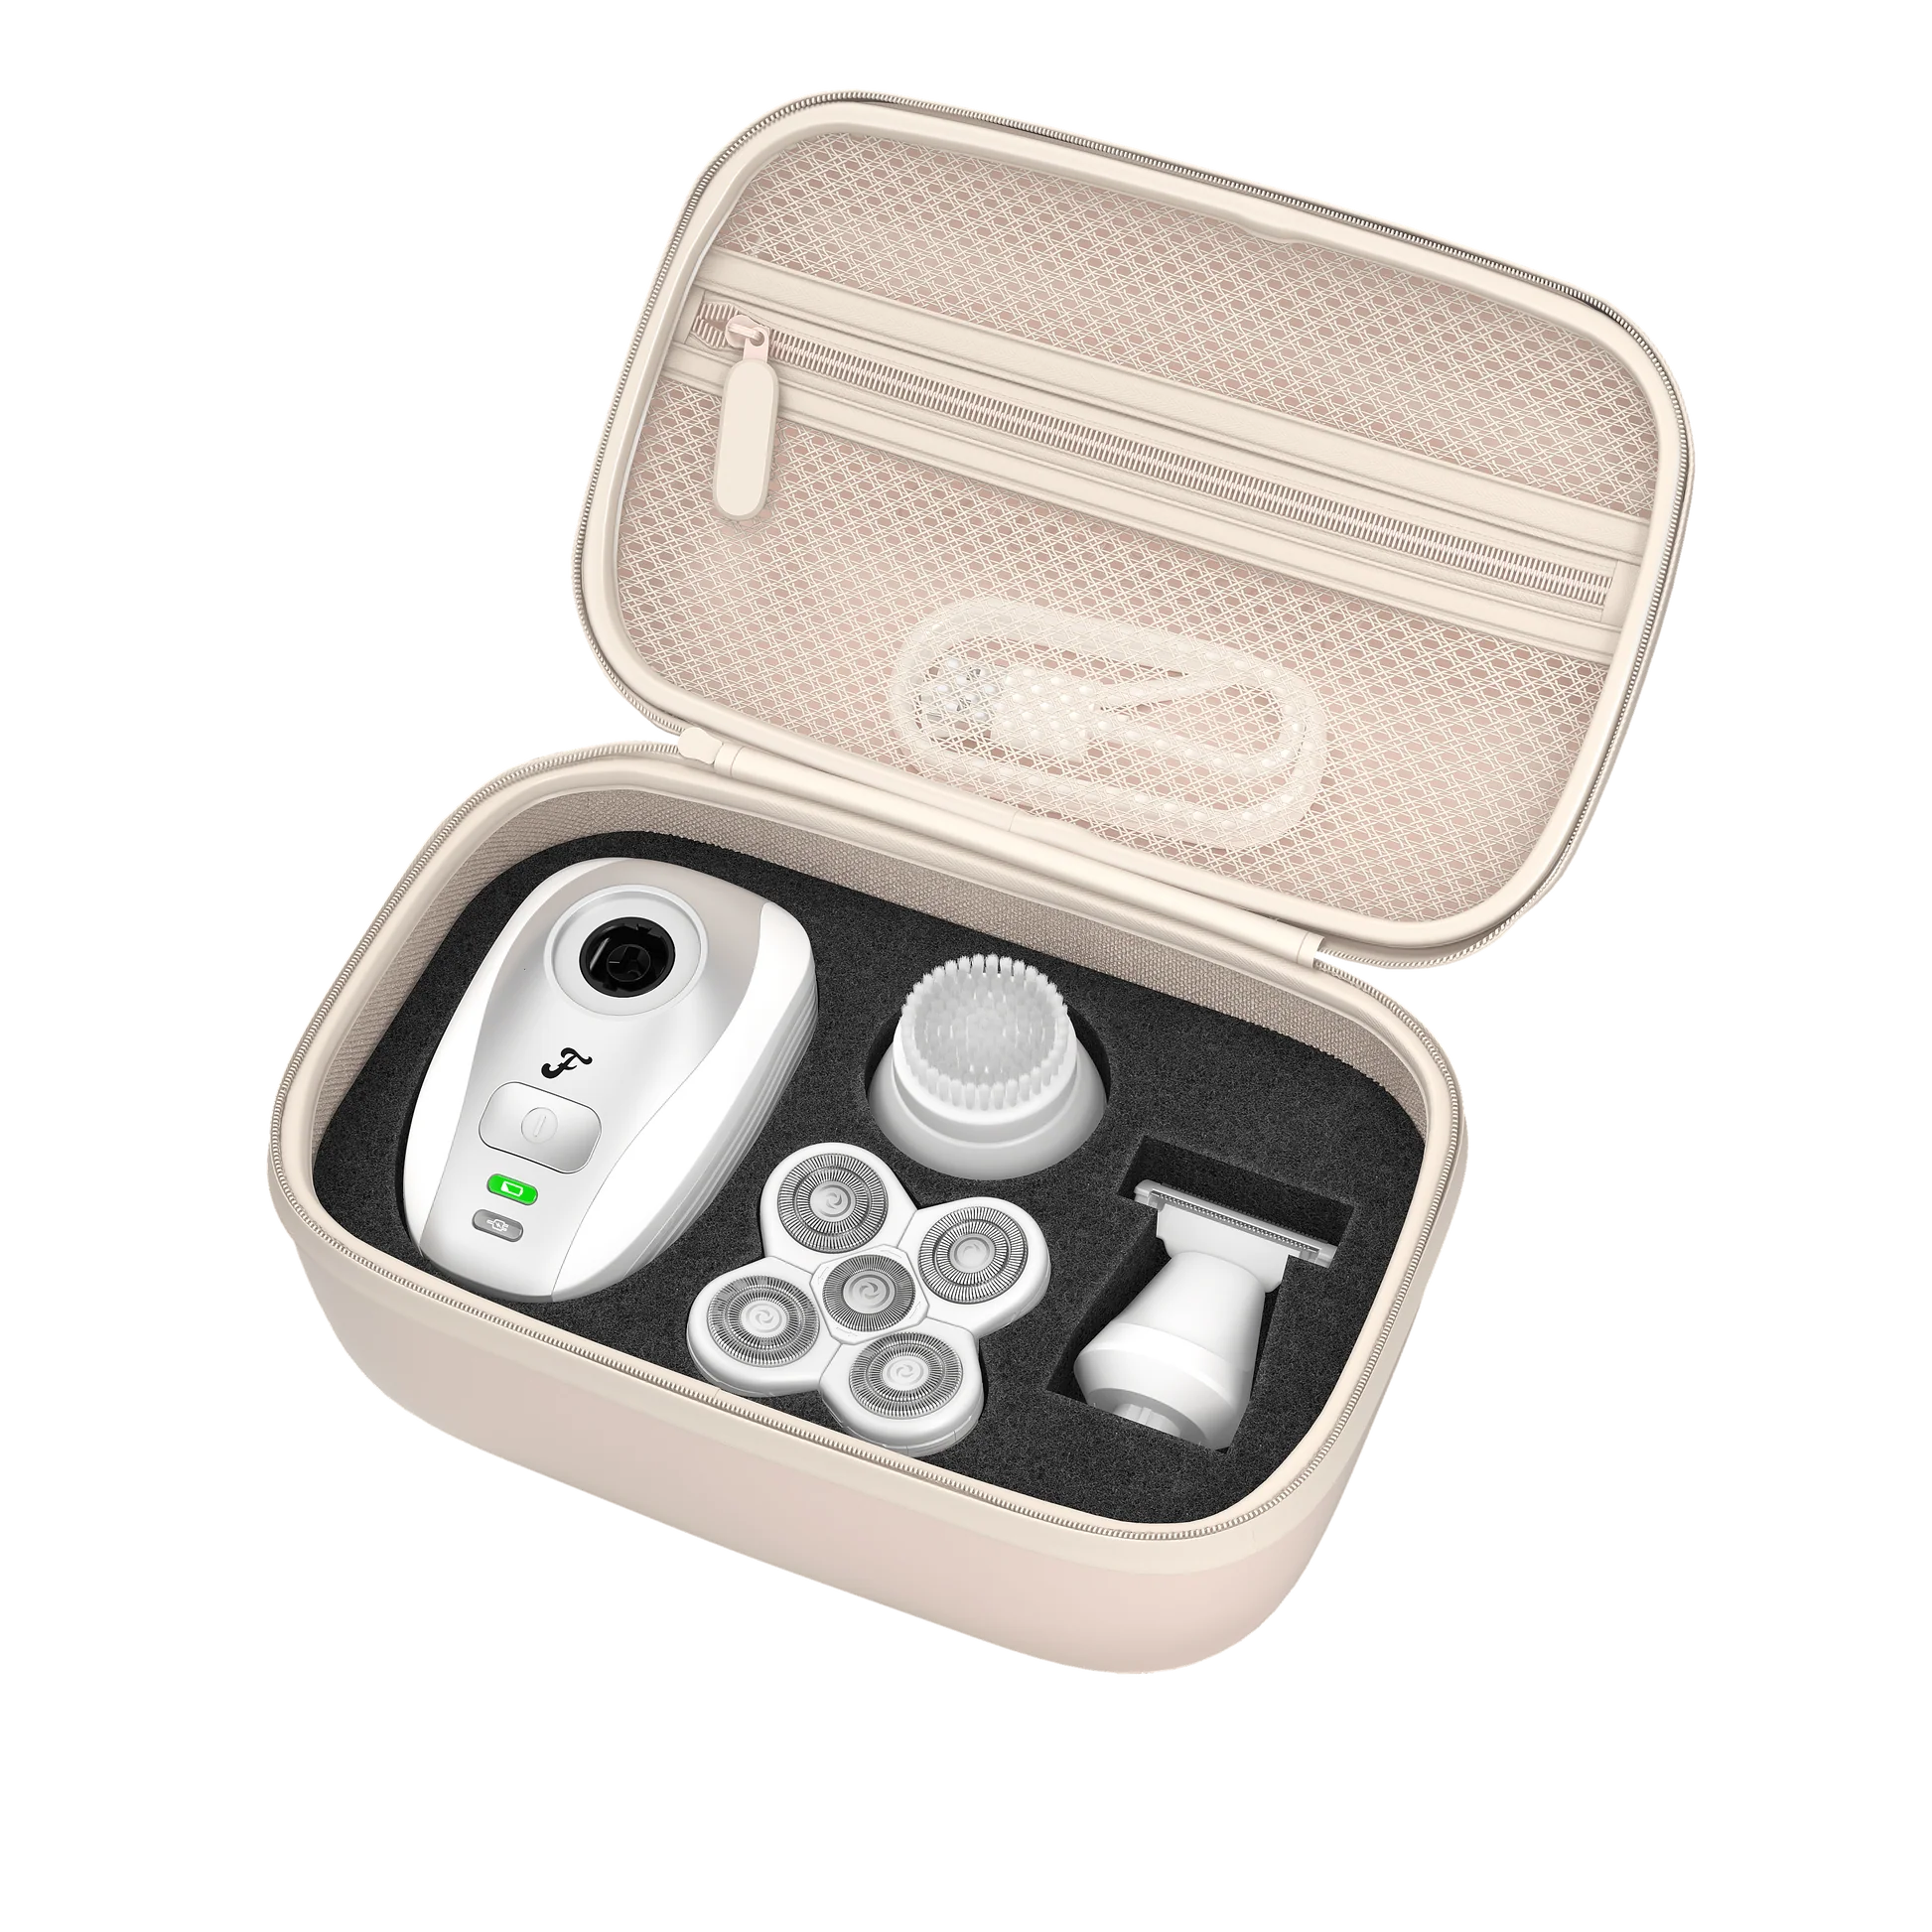
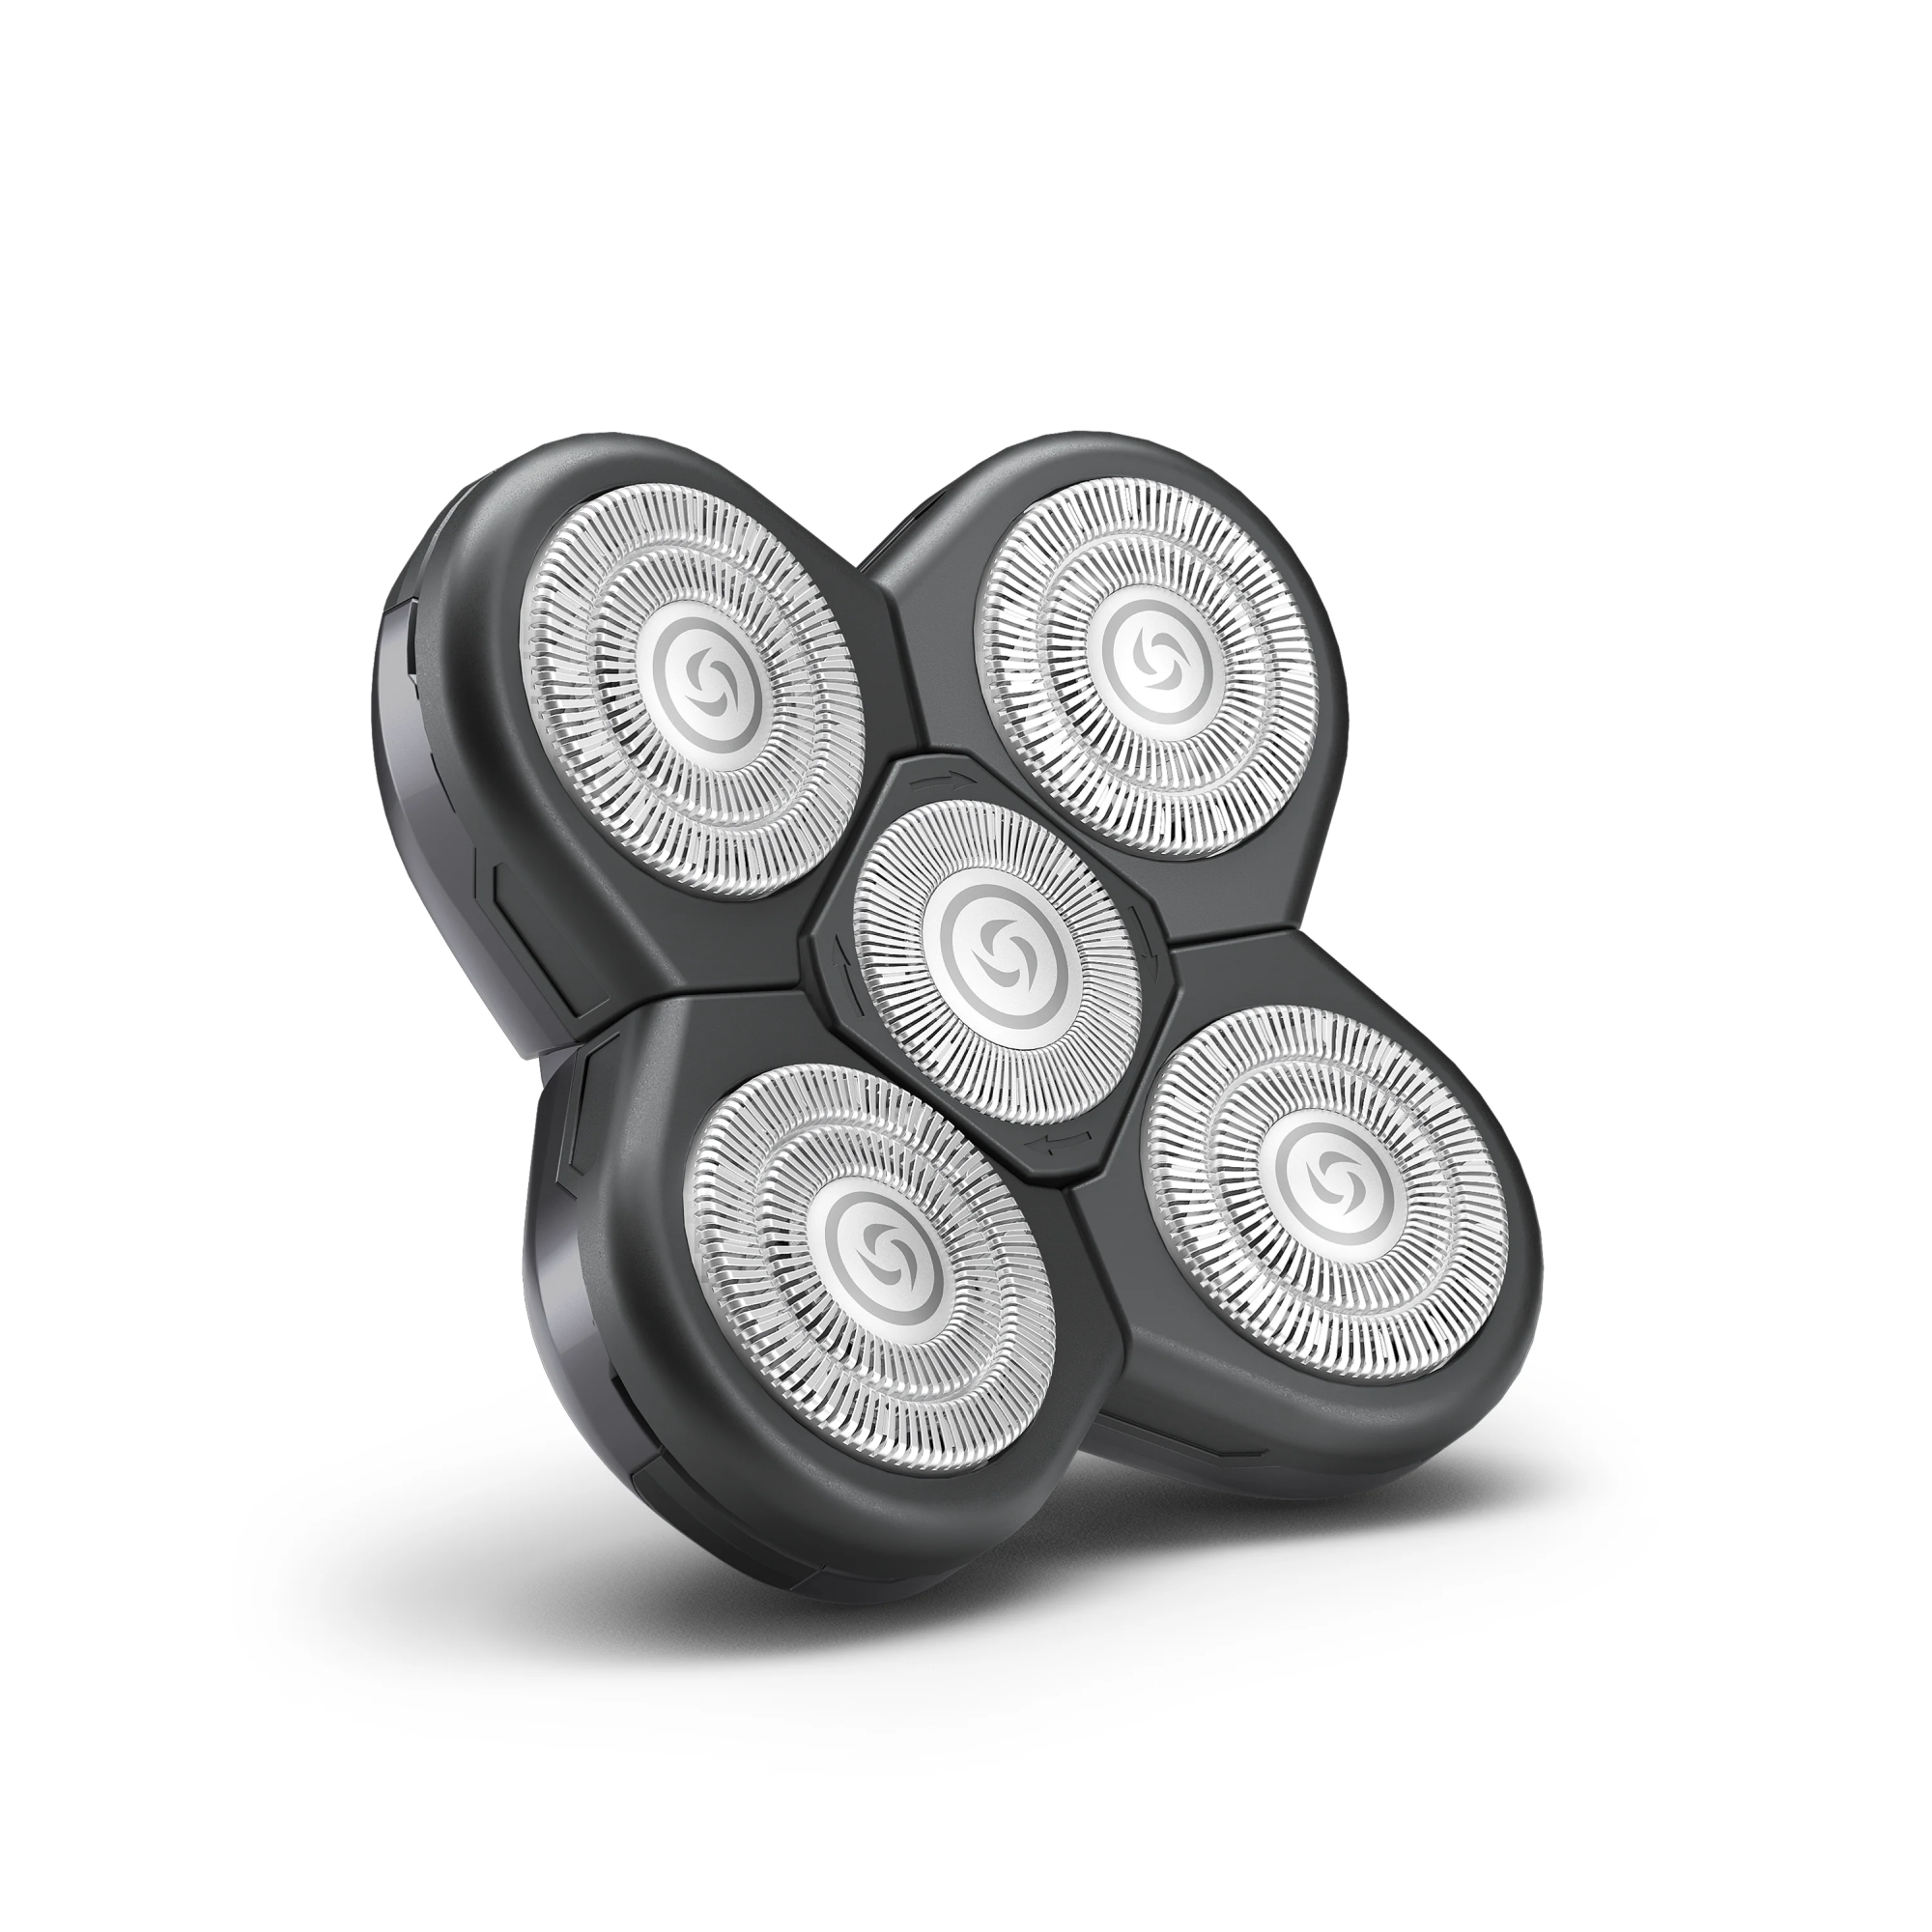
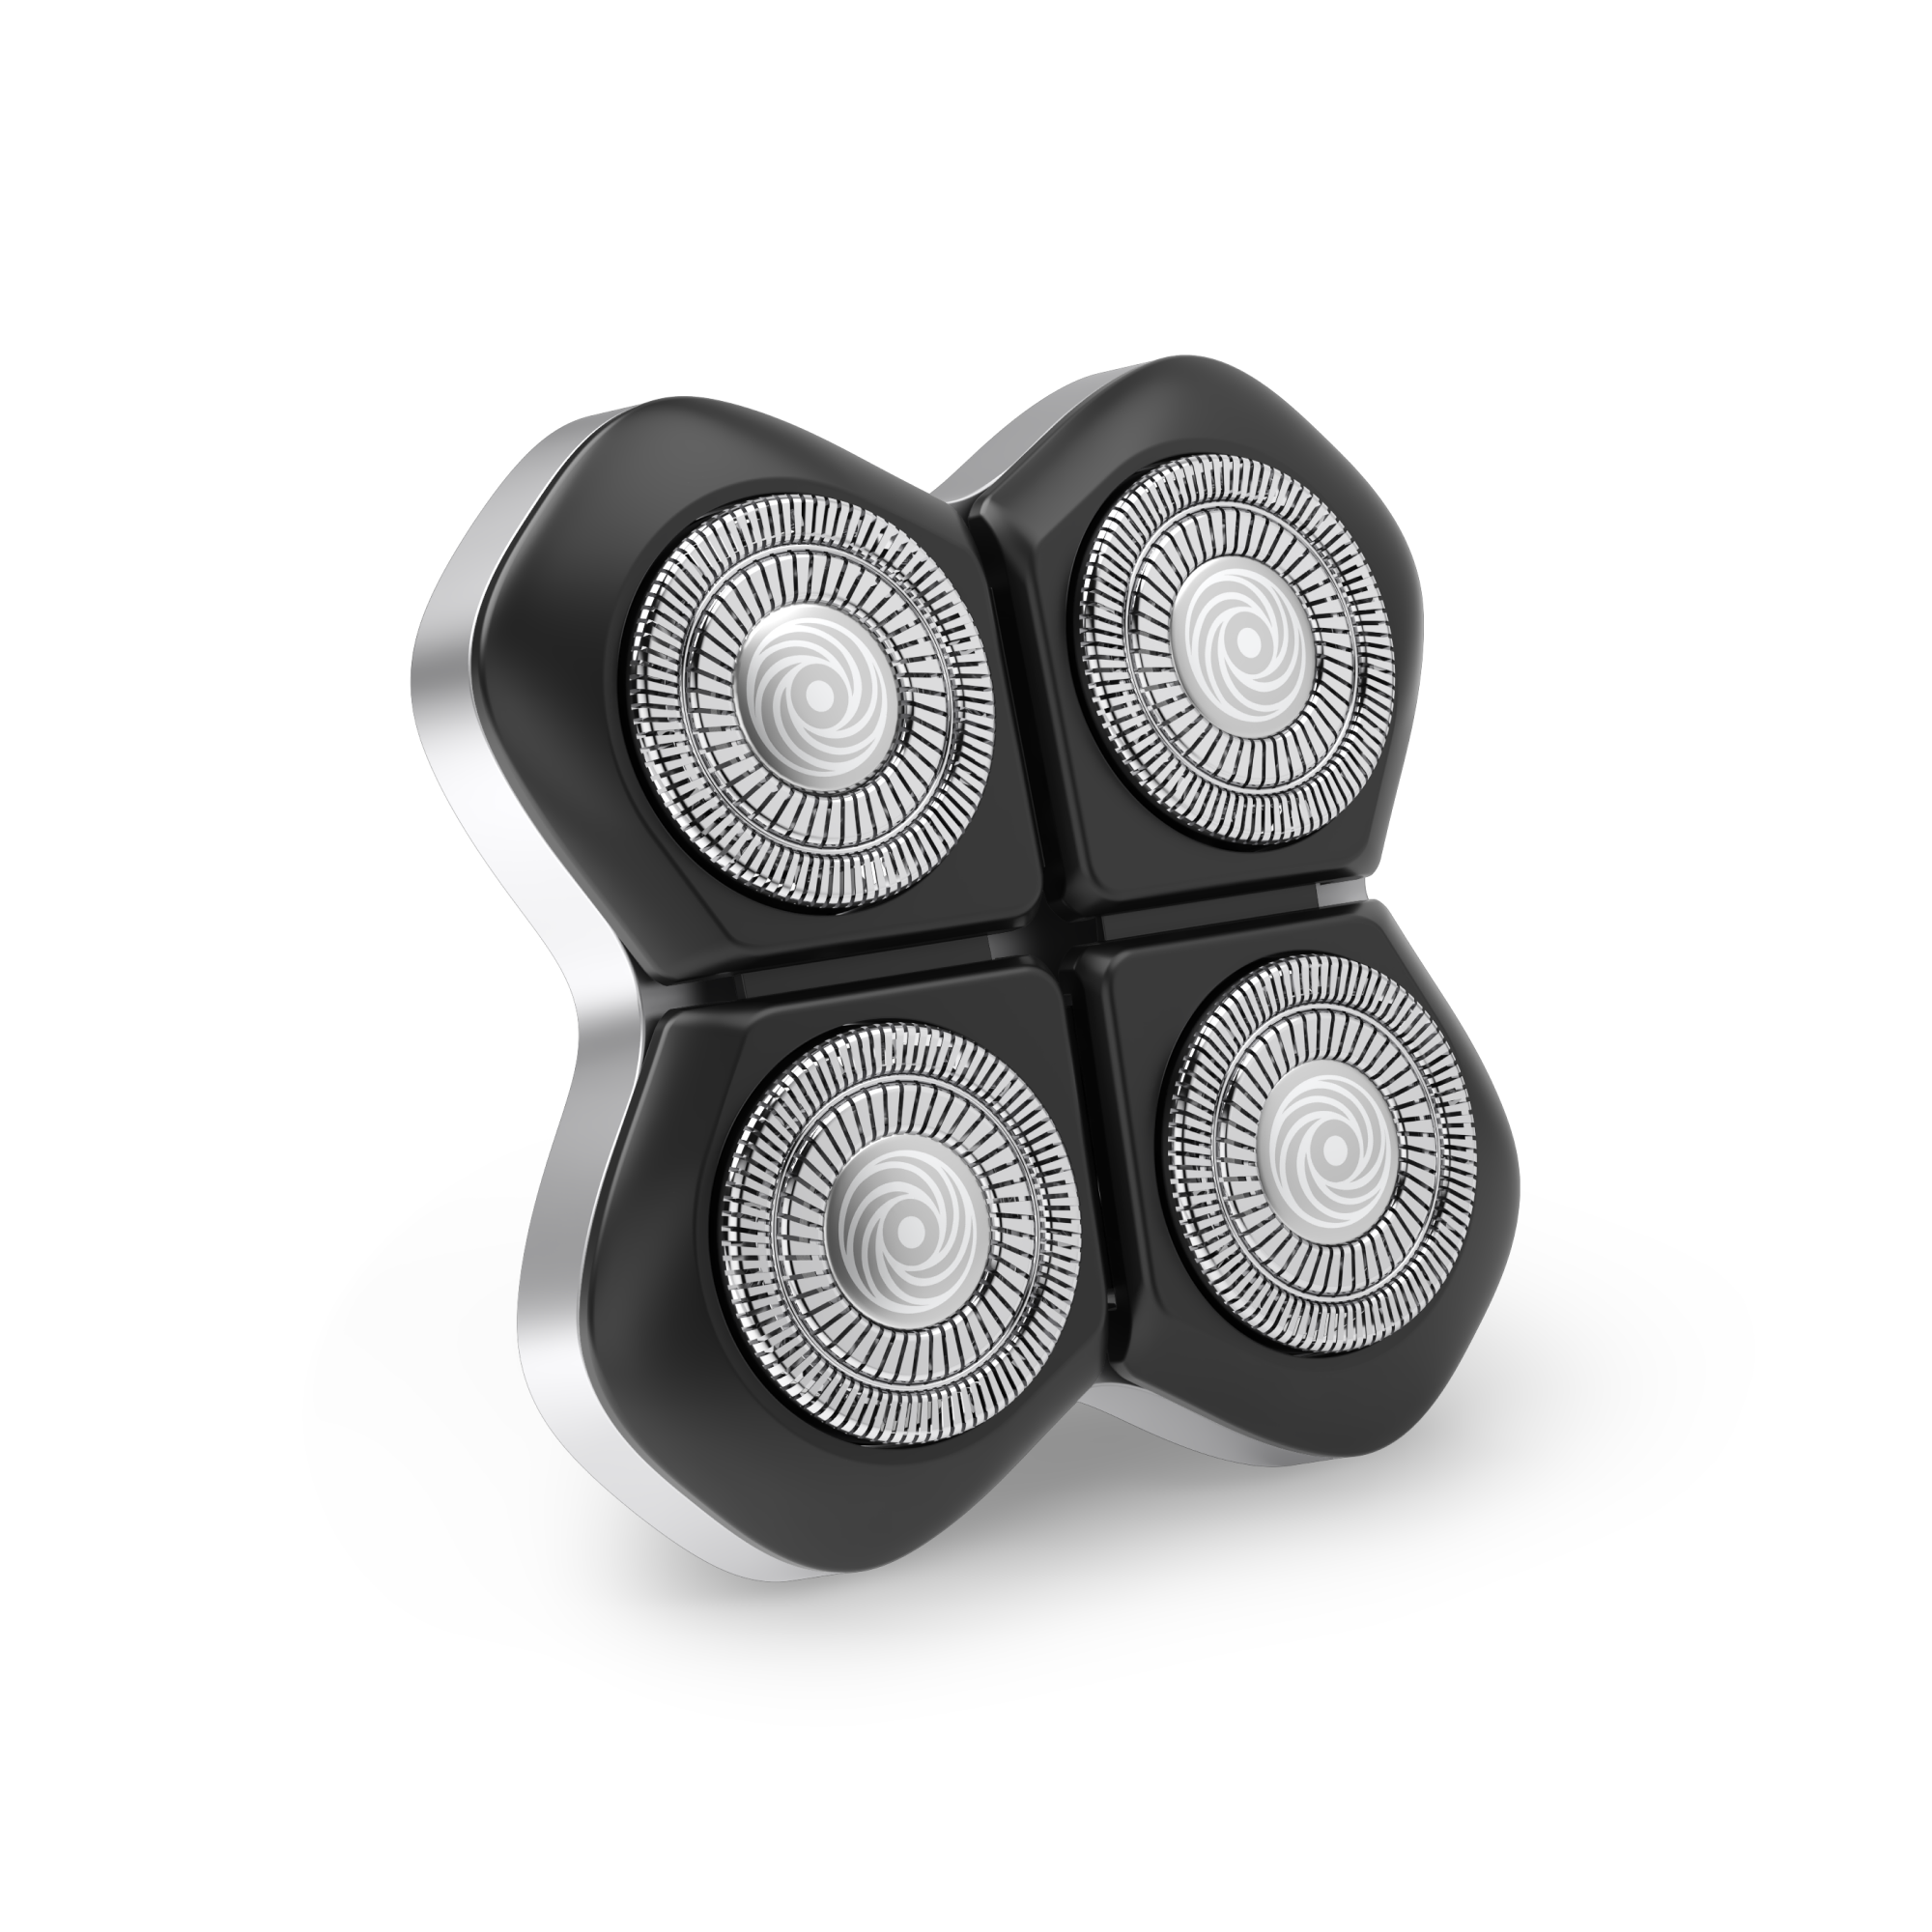
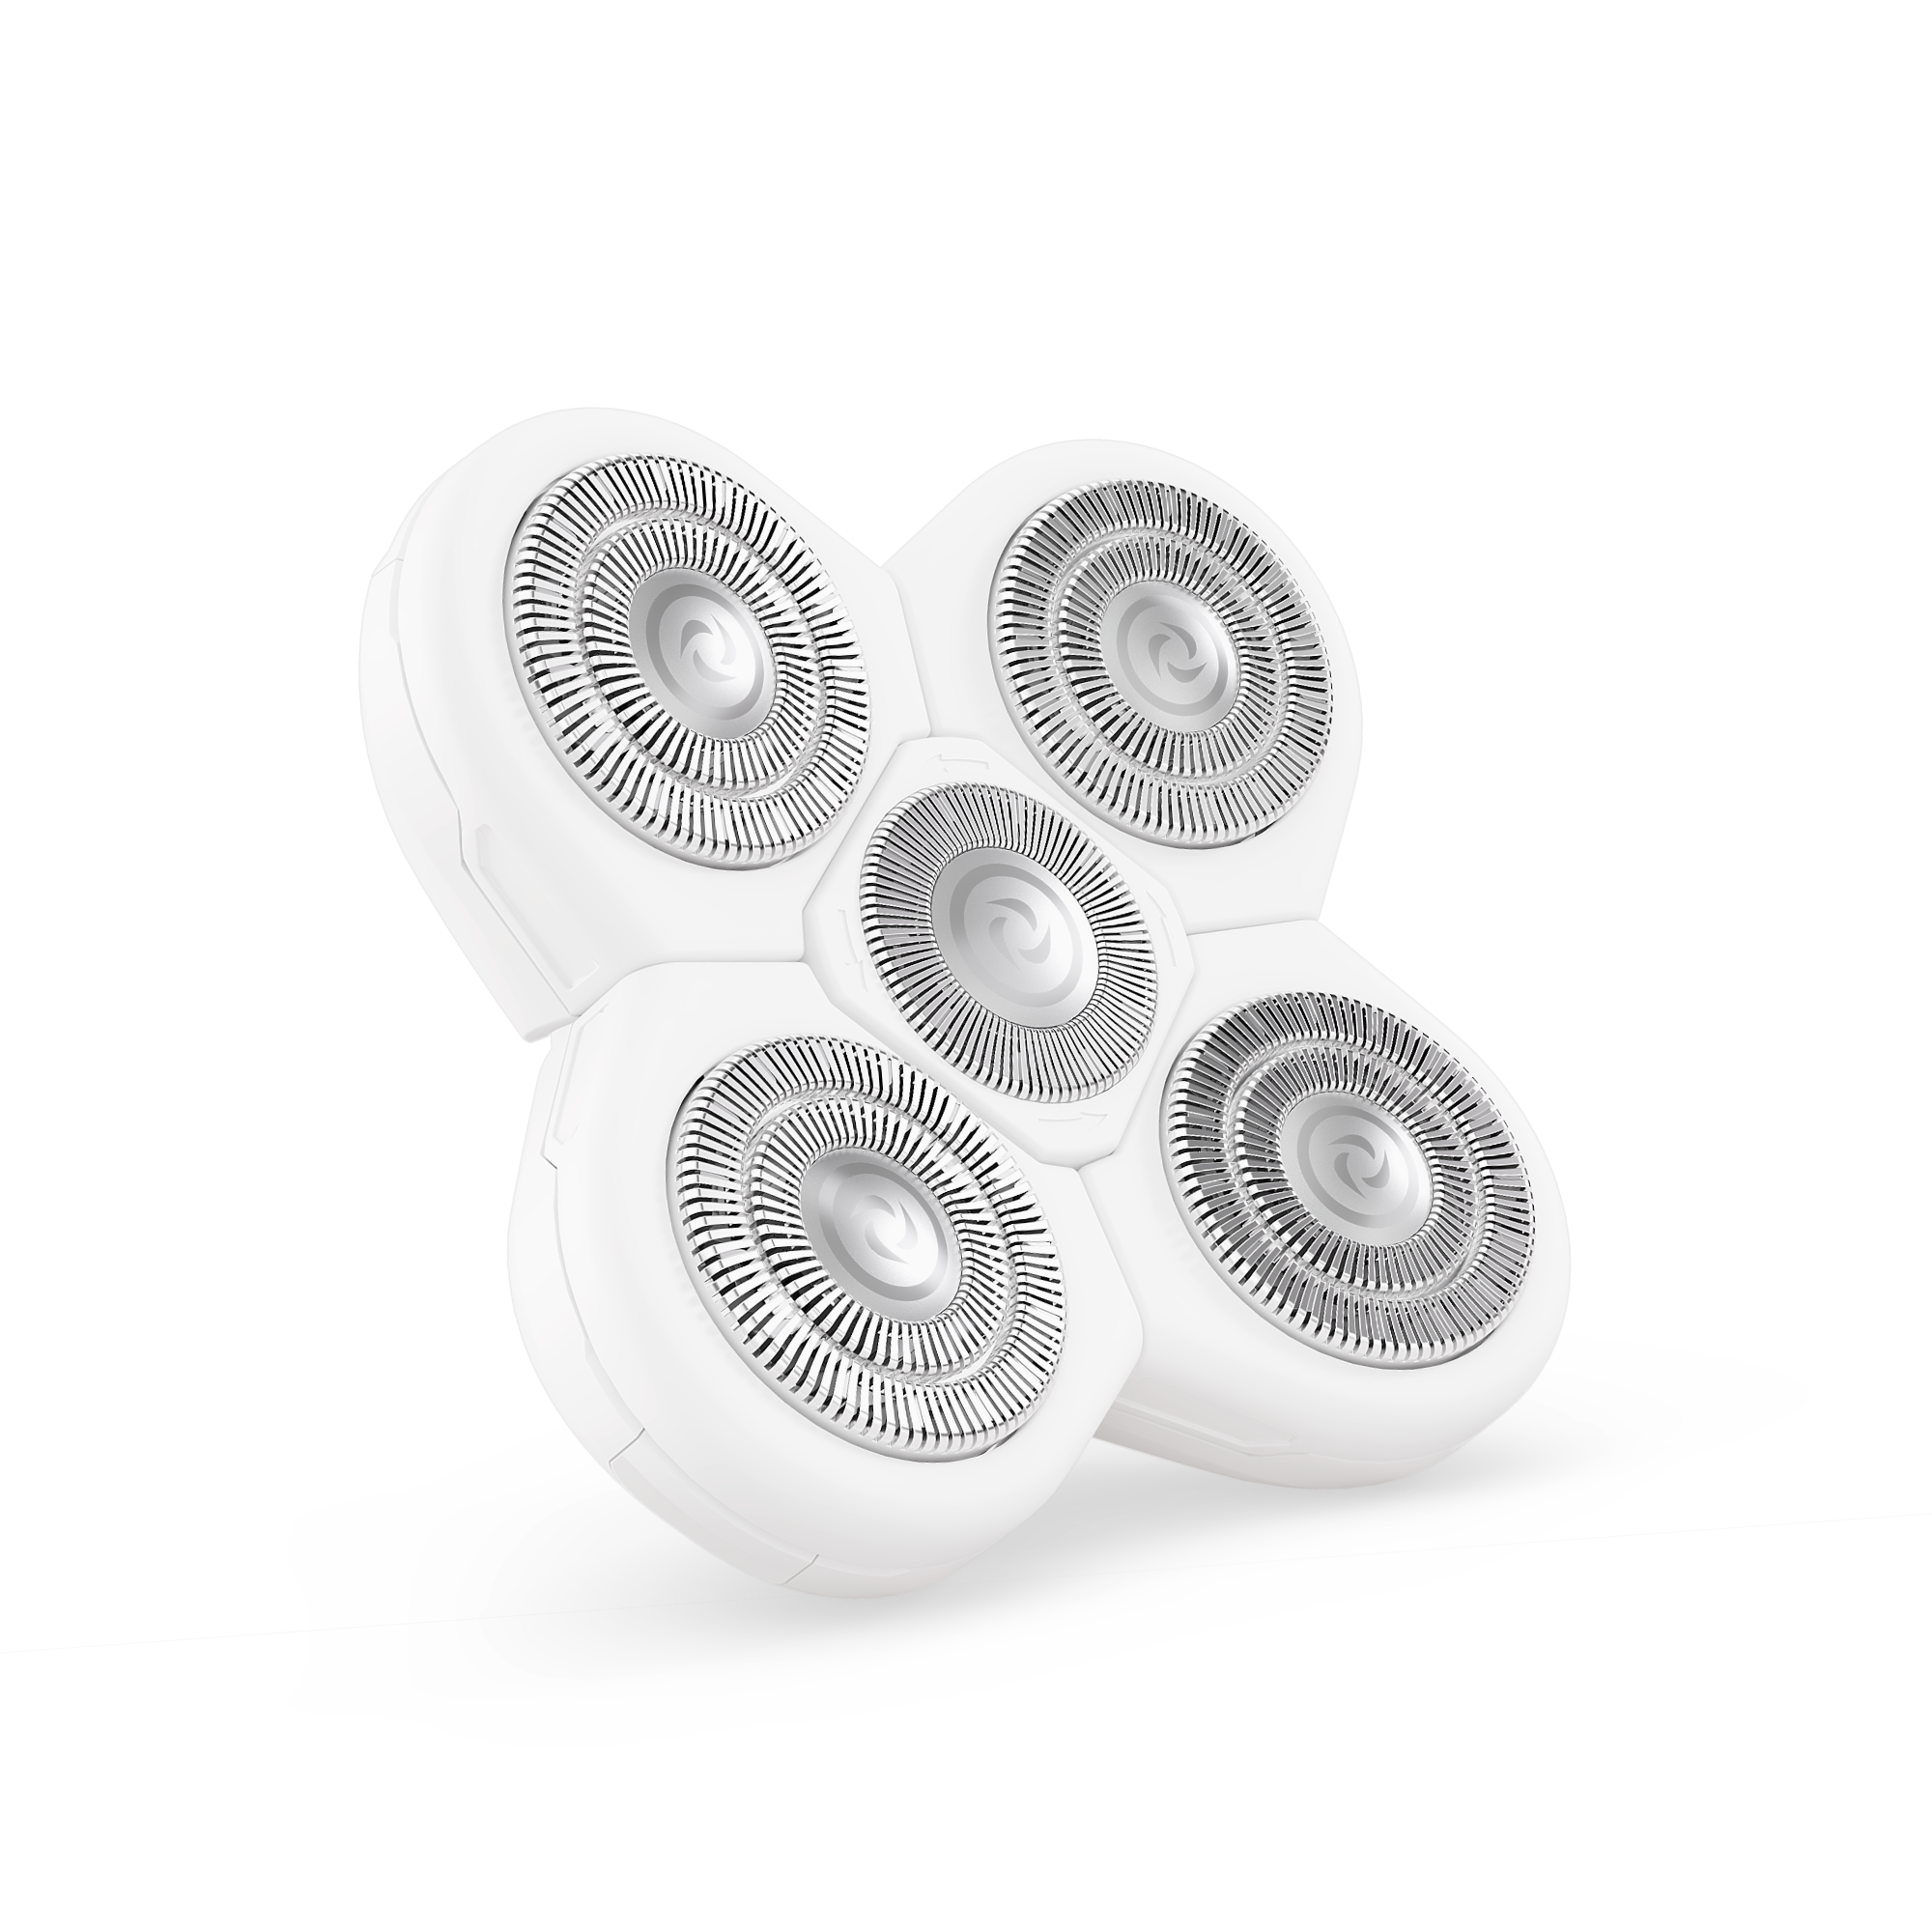
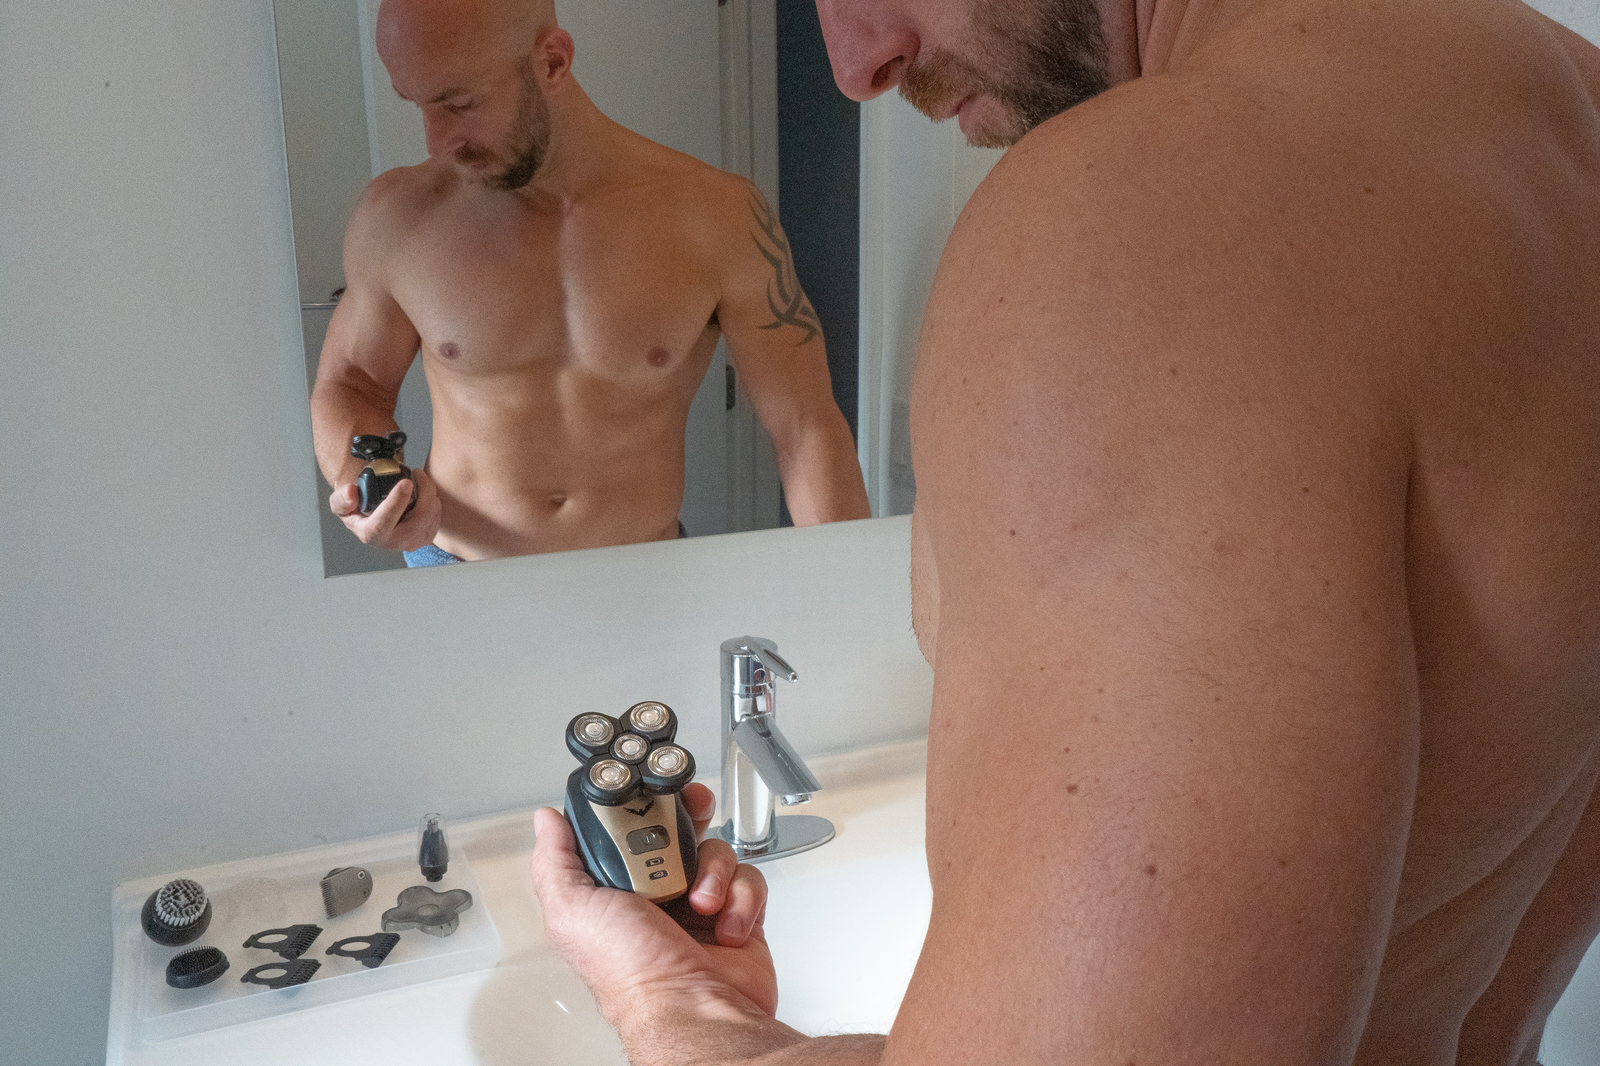
In this guide, we'll use the Freebird FlexSeries, our top pick for best electric head shaver.
What You Need for Cleaning
Cleaning an electric razor doesn't require any special tools or expensive products. Most electric razors come with a small cleaning brush designed for this purpose. You'll also need warm water and a mild soap or cleaning solution.
Some high-end electric razors have a cleaning station that uses special cartridges. These stations clean, lubricate, and dry the shaver at the touch of a button, making maintenance a breeze.
How To Clean Your Electric Shaver in 9 Easy Steps
It's no surprise that you've chosen to shave electric. These modern shavers offer speed, convenience, safety, and the closest shave comparable to the traditional razor. But failing to clean your shaver can lead to poor performance, bacterial growth, skin irritation, or skin infections.
The good news is that cleaning your shaver is not that hard. It only takes a few minutes and some simple tools.
Let's get started.
1. Turn off and unplug your electric shaver

Ensure your shaver isn't connected to any electrical source before cleaning.
2. Remove the shaving head
Depending on your model, you may need to slide a lever, twist a knob, or press a button to detach the shaving head from the shaver body. Gently remove the blades for cleaning.

3. Tap and brush loose hair and clippings from the shaving head
Do this in your sink or trash bin. Use a soft razor brush that will most likely come with your new shaver. Avoid hard metal brushes that may scratch or damage blades or foils. If your shaver doesn't have a razor brush, a soft old toothbrush will do.

4. Rinse the shaver head under hot water
Make sure your shaving device is waterproof before doing this. For non-waterproof shavers, use cotton swabs or a damp cloth to gently wipe your shaving head. Avoid submerging your shaving head or shaver in water if it's not waterproof. Air dry completely before using it again. Failure to air dry can damage the device, or worse, you'll get an electric shock.

5. Add a few drops of liquid soap to the shaving head
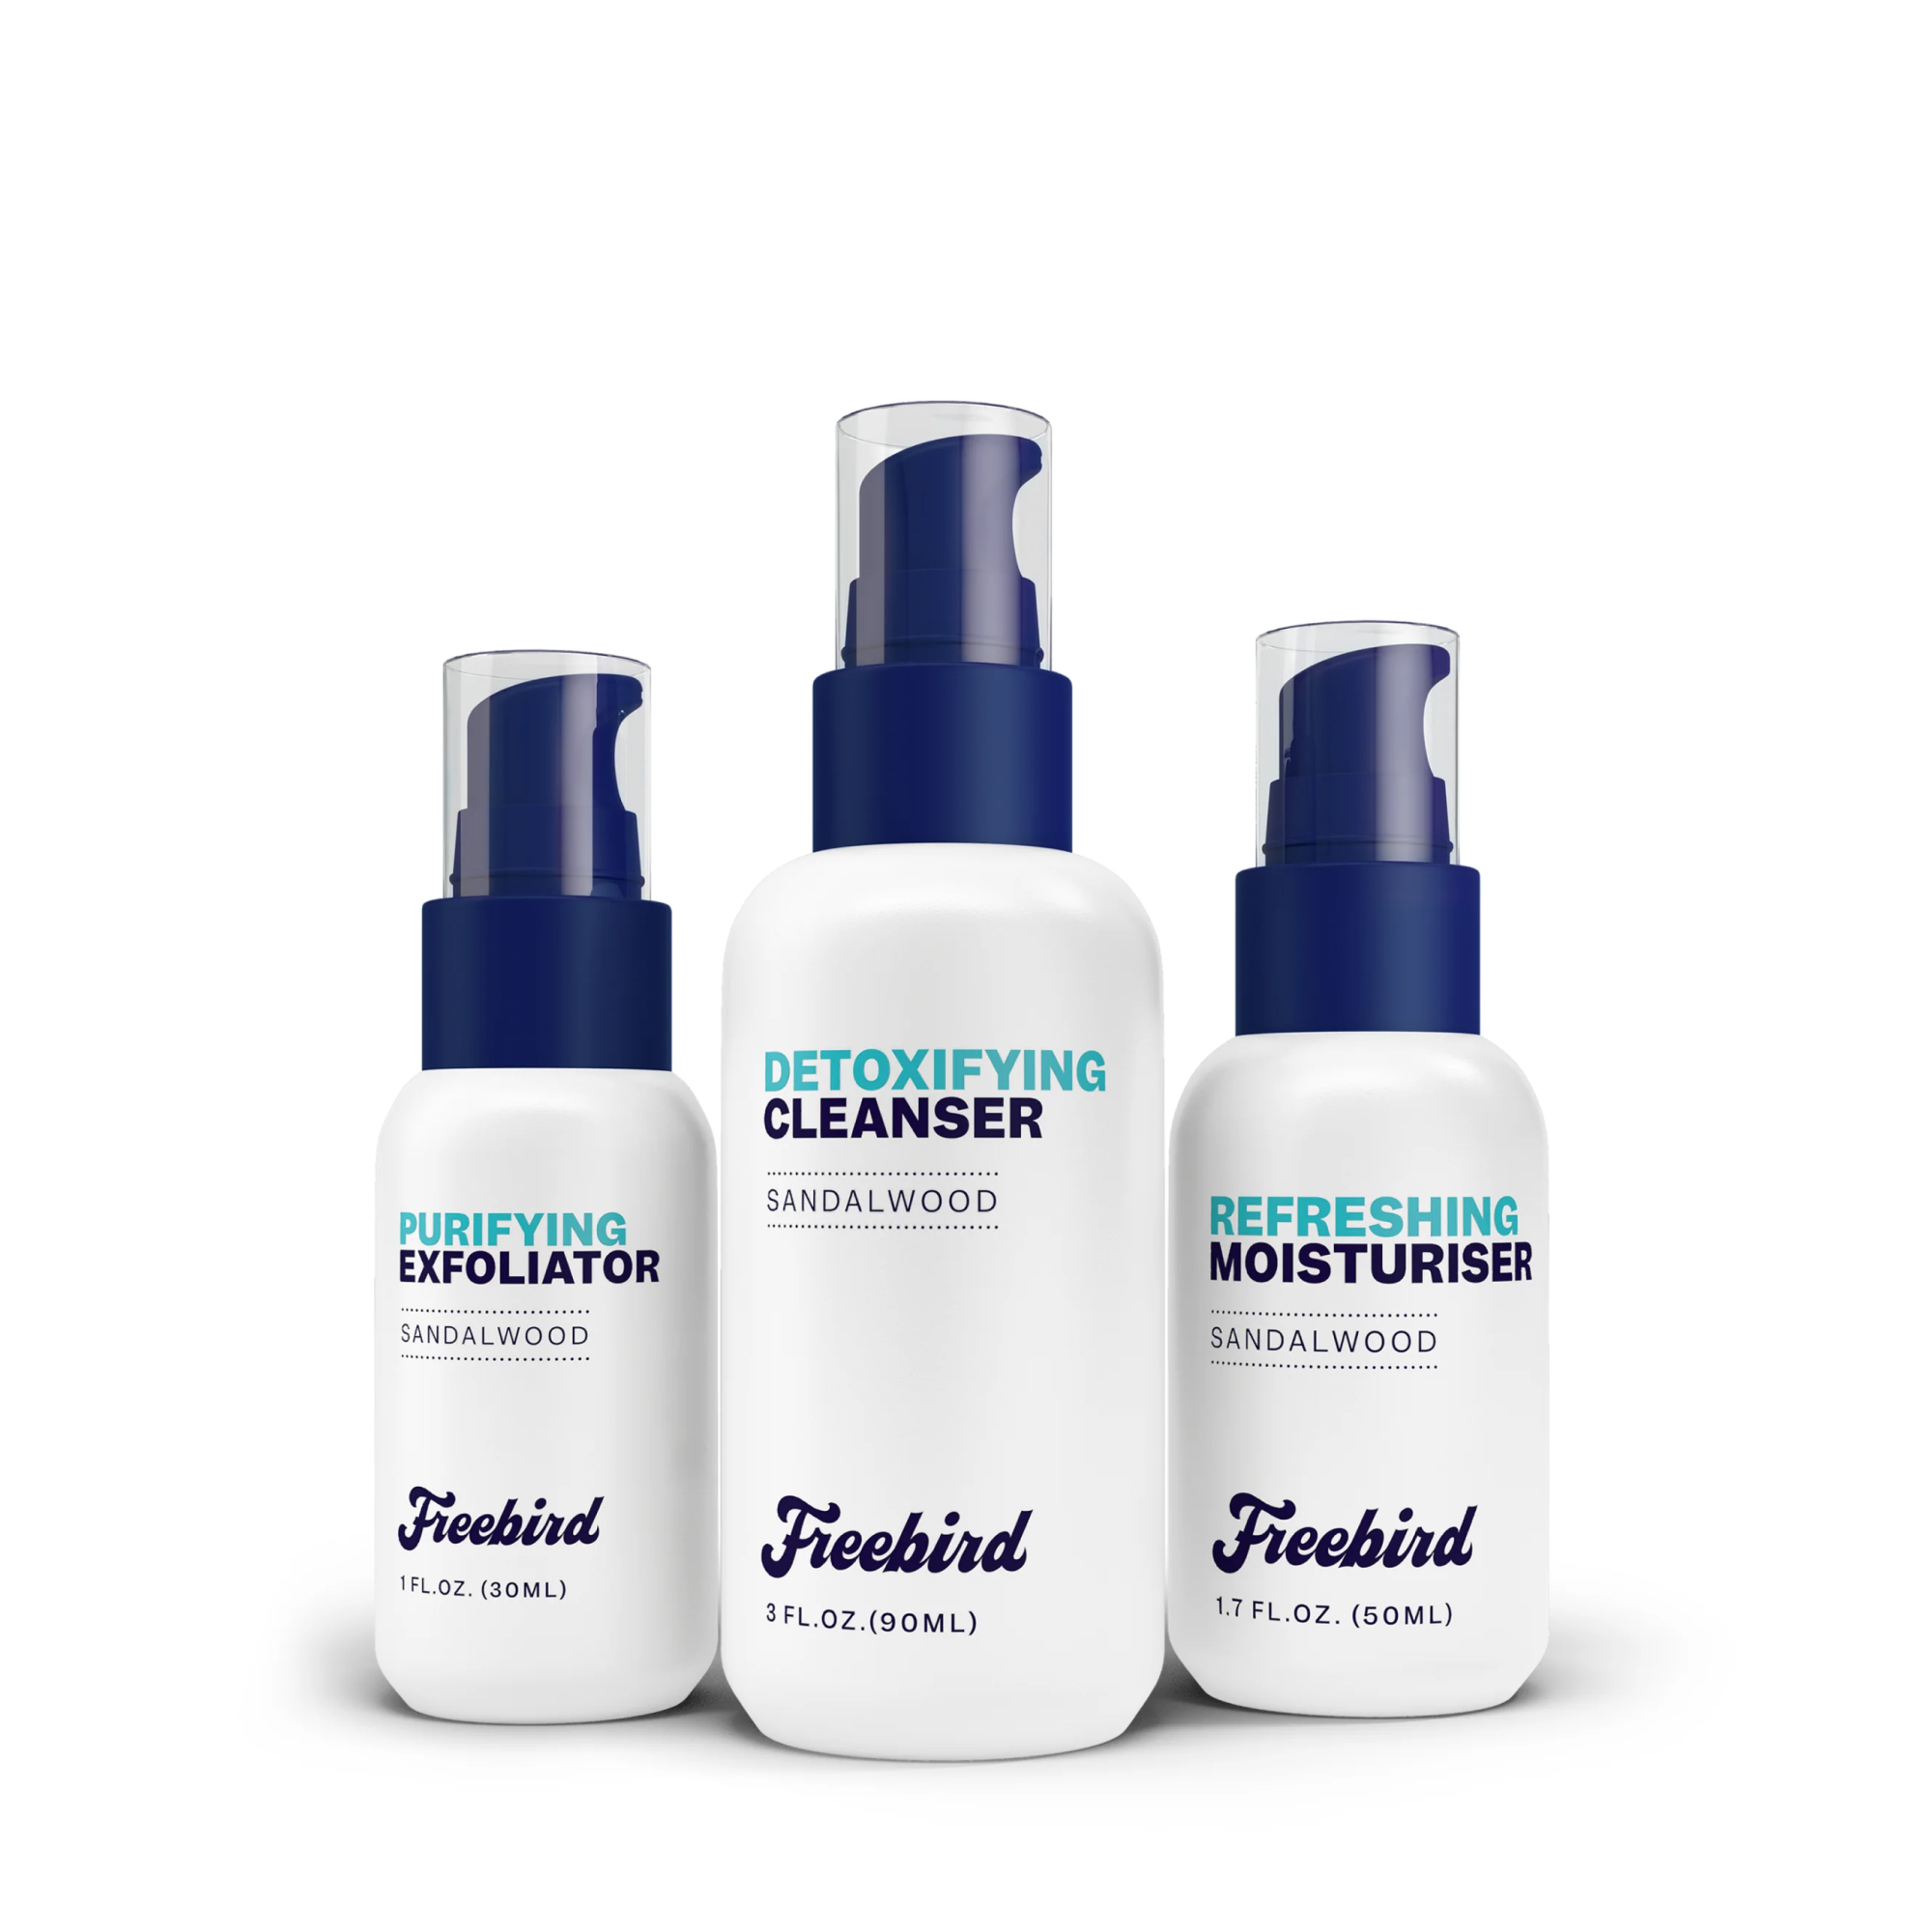
For shavers with cleaning solutions, use them to clean your heads and blades. If your shaver does not include a cleaning solution, you can use mild liquid soap, dishwashing liquid, or spray cleaner. Avoid using harsh and abrasive chemicals that may harm and damage blades. Before using rubbing alcohol, read your owner's manual to see if you can use it on your blades.
6. Rinse the shaving head with water
Remove all traces of soap or cleaning solution. If the blade has been properly cleaned, it's time to sanitize the head. You can apply a specially designed cleaning spray to sanitize your shaver heads and use these products according to the instructions on the label.

7. Dry your shaving head with a soft cloth or hair dryer
Gently pat or wipe the shaving head with a soft cloth or paper towel. You may also use a hair dryer at a low speed to air dry completely. Avoid using a dryer on a high setting since extreme heat may warp your blades.

8. Lubricate heads and blades with mineral oil or spray cleaner
Oil helps reduce friction and wear on blades and keep them sharper longer. Use light oils or those that come with your shaver. Avoid oils that are too thick, as they can clog blades.

9. Once dry, cover the shaving head and store it in a cool and dry place

You're done! You now have a clean shaver that will last longer and perform efficiently.
Why You Should Deep Clean Your Blades
While regular cleaning keeps your shaving unit in good working condition, it's also important to do deep cleaning occasionally for best performance. A quick rinse won't do it every time.
A deep clean as part of your cleaning process ensures your blades are properly cleaned, and shaver heads are free from blockage. This involves soaking the foil head or cutting block in warm water and mild detergent for 10-15 minutes.
After soaking, rinse these parts thoroughly under running water and let them air dry completely before reassembling the shaver.
What are the Benefits of Cleaning Your Electric Shaver?

If you're one of the converts to electric shaving, you know how convenient and comfortable it is compared to your old manual razor. Rotary electric razors allow you to achieve the closest and smoothest shave possible.
But electric shavers need cleaning to keep them in tip-top shape.
Cleaning your shaver is an easy yet crucial task for ensuring your device's optimum efficiency and longevity. If your electric shavers don't come with a cleaning station, don't worry; manual cleaning is easy!
Cleaning your electric razors has many advantages:
-
Maintain the quality of your shave. A dirty shaver can irritate sensitive skin and is less efficient. Cleaning keeps your electric shaver cutting smoothly and quickly.
-
Prolong the life of your electric razor. A clean electric razor prevents the build-up of dirt, hair, oil, shaving cream, dead skin cells, and bacteria that can eventually destroy your blades, motor, and battery.
-
Eliminate odor. Regular razor cleaning removes trapped hair and skin oils that may produce a foul odor when left on your blades.
-
Better hygiene. Cleaning your shaver blades prevents the buildup of fungi and bacteria.
-
Increase battery life. A clean shaver works efficiently, which lessens the strain on your battery.
-
Saves money. A poorly maintained electric razor can be damaged beyond repair, resulting in costly replacements. A clean shaver saves money by prolonging its life and avoiding repairs or replacements.
How Often Should You Clean Your Electric Razor Blades?

The frequency of cleaning your electric razor can depend on several factors. Ideally, it's best to clean your shaver head after every use. This ensures it's always ready for your next shave and helps maintain excellent performance.
However, if you have a beard or don't shave daily, you might not need to clean it as often. In such cases, cleaning it once or twice a week should suffice.
Remember, the goal is to keep your shaver free from hair and skin debris that can affect its performance.
You wouldn't want to keep dealing with razor burn or razor bumps every time you shave, right?
How often you clean your electric razor blades depends on:
-
Type of shaver. Generally, foil shavers need more frequent cleaning than rotary shavers since they have more exposed blades that are magnets for hair and debris.
-
Type of hair. If you have thicker and longer hair, you need to clean your new shaver since the blades will clog more easily than those with fine and short facial hair.
-
Type of shaving. If you love wet shaving, be prepared to do extra cleaning since your shaver is exposed to more residue and moisture, including shaving foam.
You can also check your owner's manual for specific recommendations based on your electric shaver model.
Personal Insights

Based on my experience with hair clippers and rotary electric devices, I prefer to clean my shaver after each use. I want my blades sharp every time I use them. It makes shaving efficient and comfortable.
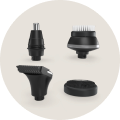
If you own a Freebird FlexSeries like me, here are some important reminders when cleaning your shaver:
-
As you clean, pull out blades from the shaver's body. Attachments on your shaver snap on and off by simply pulling or pushing them WITHOUT TWISTING. DO NOT TWIST or TURN blades while connecting or removing them.
-
Use the indents on the edge of each outer blade to open for cleaning. These four blades open on a hinge and will always remain attached.
-
Remove the CENTER BLADE by turning it slightly counterclockwise and lifting it to remove it.
-
Rinse the blades with ONLY WATER and let them sit out to completely dry in a well-ventilated space.
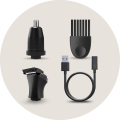
The Freebird FlexSeries Kit includes a tiny razor brush that you can use to remove hair if you prefer to do a dry shave over wet shaving. After 50 shaves, we recommend buying a fresh set of FlexSeries Blades.

How to Maintain Your Electric Shaving Unit After Cleaning
After cleaning your razor, it's important to lubricate it to ensure smooth operation. Lubrication reduces friction between moving parts, preventing wear and tear and extending the life of your device. Applying a drop of light oil to the cutting block may help reduce friction and wear. Rotary shaver heads or foil heads should be replaced every few months.
An electric razor spray cleaner is also a useful tool to have in your arsenal. It can help remove all traces of sebum and oil on the blades. Most manufacturers provide instructions on how to lubricate their products properly.
The Bottom Line
In the world of grooming, clean electric shavers are a necessity.
Now that we've unraveled the why and how of keeping your trusted shaver in top shape, it's time to reap the benefits.
Cleaning your blades regularly is recommended if you want your electric razor to perform well, last longer, and give you a comfortable shaving experience.
Shaver cleaning should be part of your lifestyle. Your skin and shaver will thank you for a job well done.
As we wrap up this journey toward razor redemption, remember that the key to enjoying the best performance from your shaver is in your hands.
Congratulations, you've conquered the magical art of cleaning your electric razor!
Now, toast your cleaned-up buddy and prepare to face every shave like a champion.
It's time to bid farewell to skin irritation, subpar shaves, and the mysteries lurking beneath those blades.
Watch as your shaver transforms into the grooming hero you deserve.
FAQs
How Often Should an Electric Shaver Be Cleaned?
Quick cleaning can be done after every shave. Most electric shavers are easy to clean. Removing hair clippings and excess shave cream, gel, or oil is essential to keeping your blades in top shape. You can use the shaving brush that came with your unit or run your shaving heads under water if your unit is waterproof.
Deep cleaning may be done once a week. This process involves removing the shaver heads and blades, cleaning every nook and cranny, and oiling blades if necessary.
Check your owner's manual for specific instructions.
What Happens if You Don't Clean Your Electric Razor?
Hair, dead skin, and bacteria can build up on your blades and foils, resulting in pulling and irritation.
Cleaning your electric shaver maintains its performance and hygiene.
Is Rubbing Alcohol Good for Cleaning an Electric Shaver?
Rubbing alcohol is a good disinfectant for shaver blades, but it can damage the lubricants in the shaver head.
Read your user manual for specific cleaning solutions and if alcohol is allowed as a cleaning agent.
How Do You Clean Gunk Out of an Electric Shaver?
As you shave, hair, dead skin cells, shaving cream or gel residue, dirt, and dust can combine to form an icky buildup called gunk.
To remove gunk, you can follow the steps we shared above.
Is it Worth Getting a Cleaning Station?
Manual cleaning may be tedious for some.
Cleaning stations offer push-button convenience. Simply put your shaver in the dock and let it do the job. Most stations use a cleaning solution that kills bacteria while employing a multi-step cleaning process to ensure thorough cleaning.
Is it worth it? Yes, for convenience, and if you have the budget and extra storage space for the cleaning unit.